First steps - How do I get to the bwCloud?
Registration is required to use the bwCloud infrastructure. The registration is linked to the bwIDM(Federal Identity Management of Baden-Württemberg universities), which is why all members of Baden-Württemberg institutions can use the bwCloud in principle. Registration for the bwCloud is currently managed by a server at the Karlsruher Institute of Technology.
Requirements: What you need to use the bwCloud[prereqs]
-
To use the bwCloud individually, you need a valid account or access to a university, college or other state institution in Baden-Württemberg that is linked to the nationwide bwIDM . You can check whether your institution is connected to bwIDM by looking at the list under the link https://bw-cloud.org/q/regapp. If your facility is not on the list, please contact your local technical support.
- In terms of software equipment, you need for web-based access to the bwCloud an up-to-date web browser with JavaScript enabled (= activated). Many functions are based on JavaScript, which is executed in the browser of the users: (e.g.) without JavaScript it is not possible to register for the service in the RegApp.
Before using, please note: What bwCloud is for what not[notice]
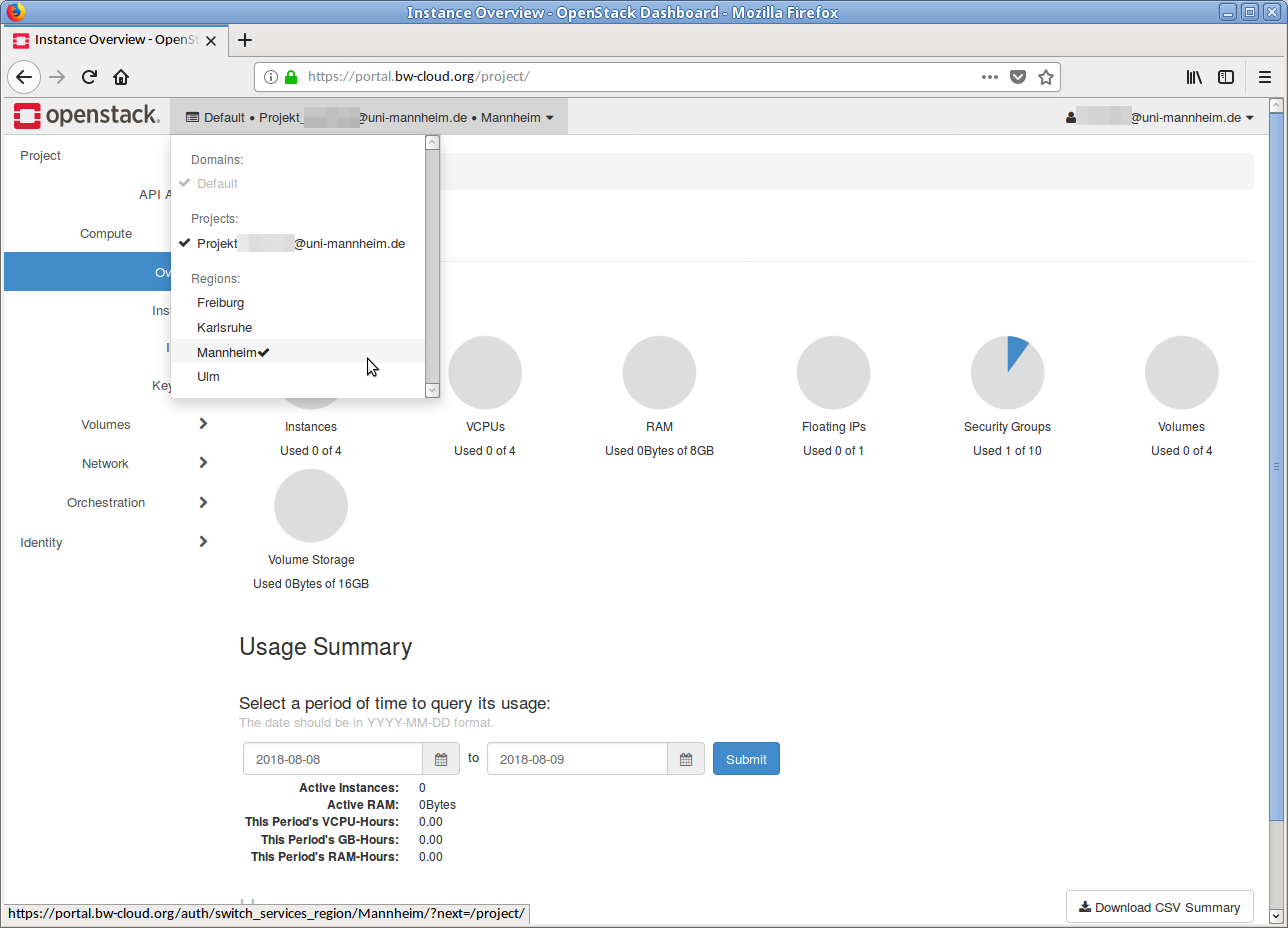
The bwCloud is an "infrastructure-as-a-service" environment, specially developed and operated for research and teaching in Baden-Württemberg. With the bwCloud, virtual servers or virtual machines (VMs) can be created, started and operated. These virtual machines include resources such as virtual CPUs (vCPUs), main memory (RAM), network access (IPv4 and IPv6 addresses) and storage space (storage) and do not differ in operation and administration from "real" physical machines. Except in one central point: VMs are set up, started and deployed much faster than physical servers (if changed). With the help of bwCloud, single or a whole swarm of virtual machines can be started and orchestrated. Virtual machines can be operated in different regions - or all VMs run in the same region.
For us it is very important to ensure that our users are able to carry out all processes and procedures independently and on their own. The key word here is "self-service": Ideally, a user logs into our dashboard, manages the VMs and can carry out all operations independently without help from our side.
But this also means that certain previous knowledge is required to operate VMs:
- What is SSH?
- How can a public SSH key be generated?
- What is a (virtual) server?
- How do I install software on my server and how do I keep the system up-to-date?
We are continuously expanding our support infrastructure (graphical interfaces, instructions, step-by-step tutorials, ready-made recipes) and are certainly not at the end of our endeavors here either, but ultimately every user runs his own (virtual) server. Realizing barrier-free access with minimal effort and optimized for all previous knowledge is not affordable for us with the resources available. Nevertheless, we work hard to give everyone and every interested user an optimal entry into the bwCloud. If you have any questions or problems, please do not hesitate to write us a ticket.
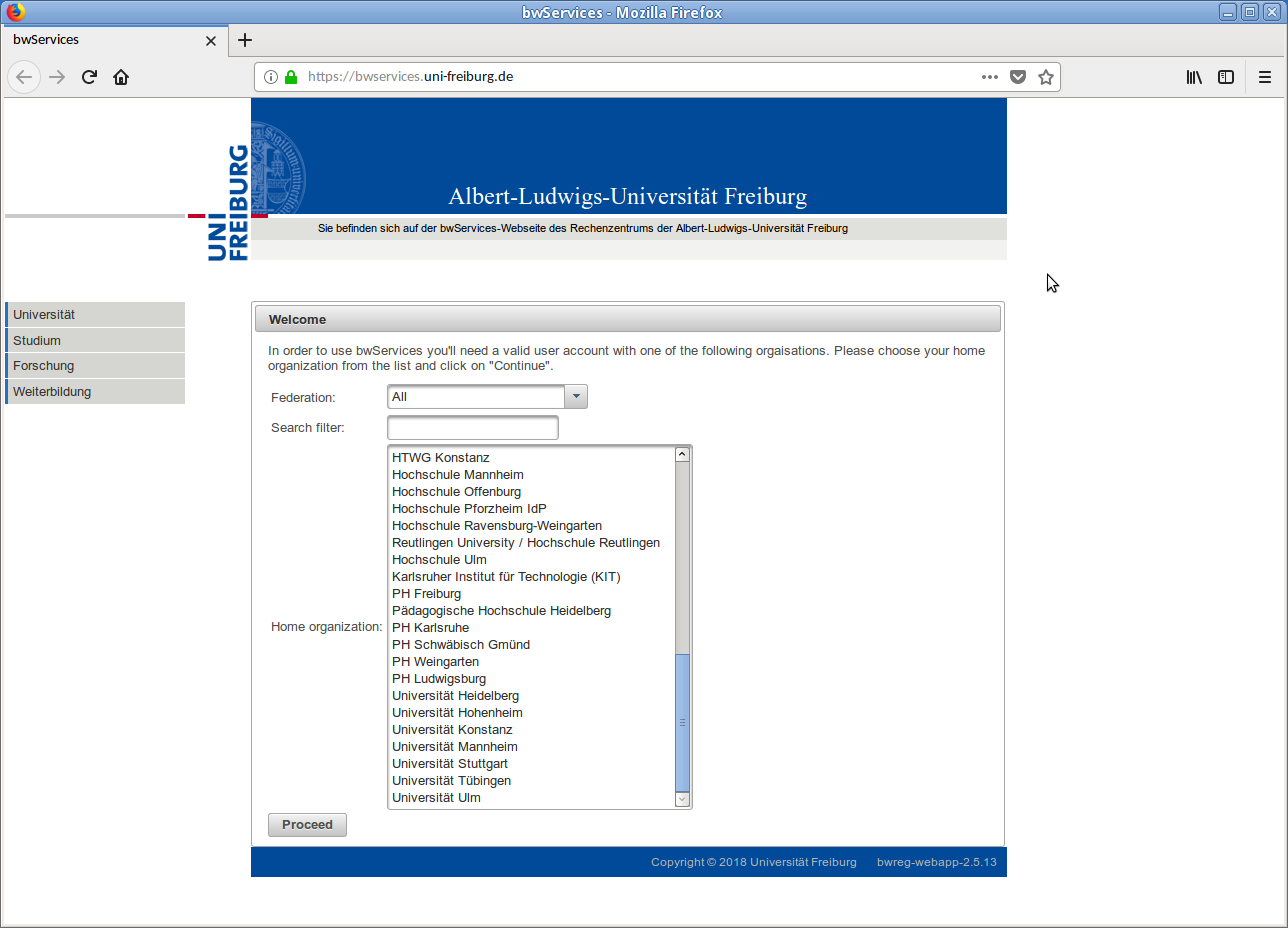
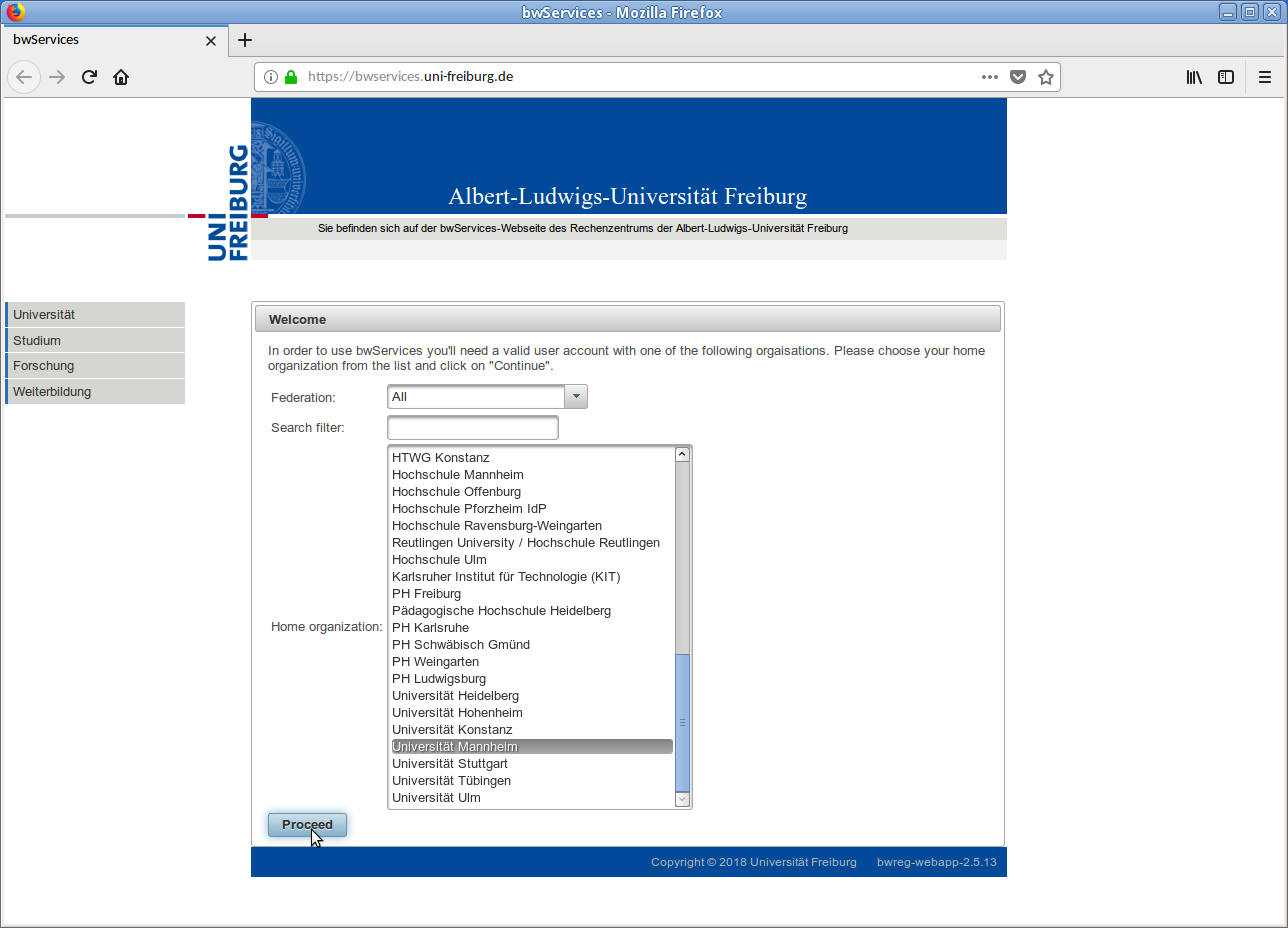
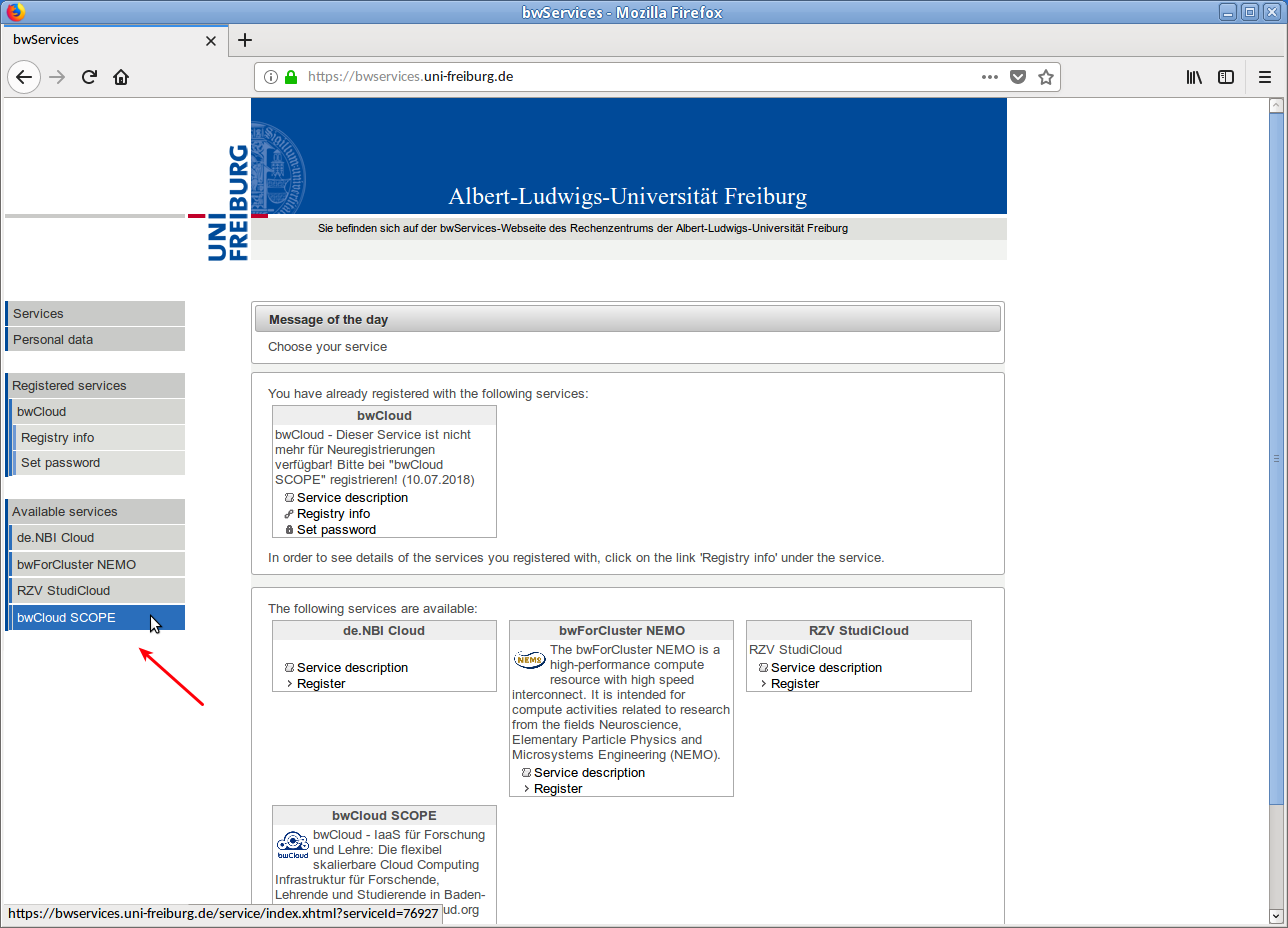
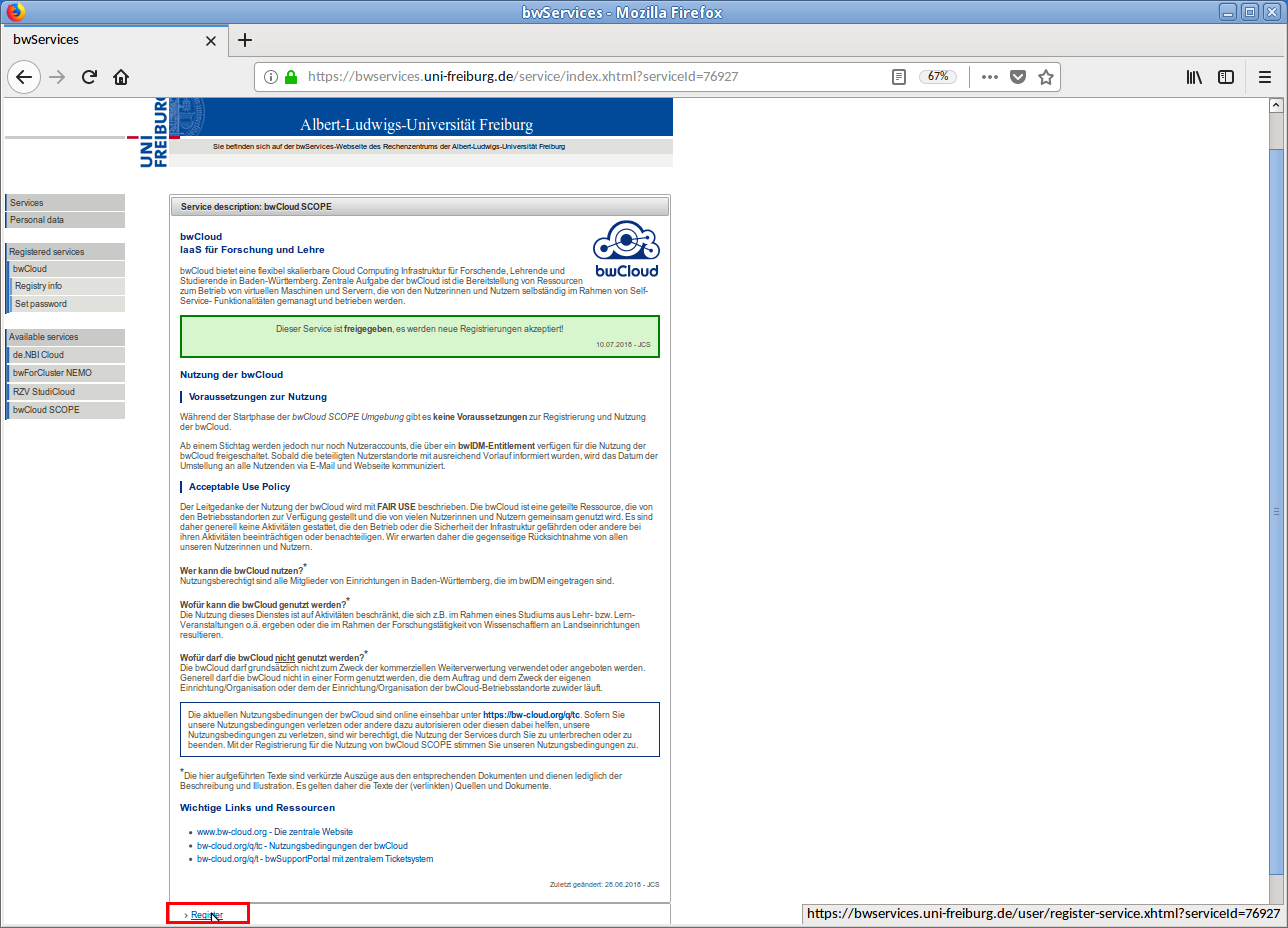
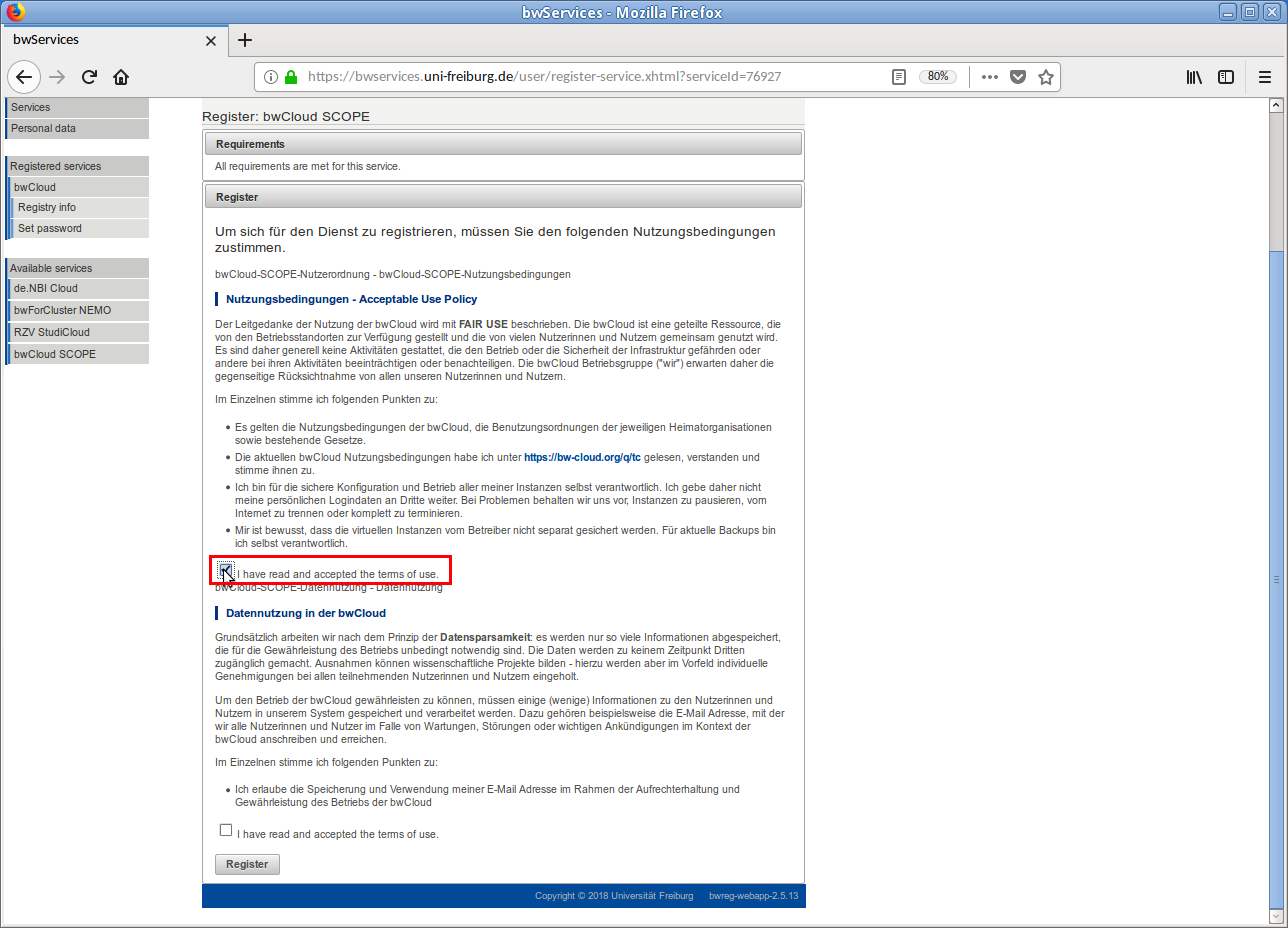
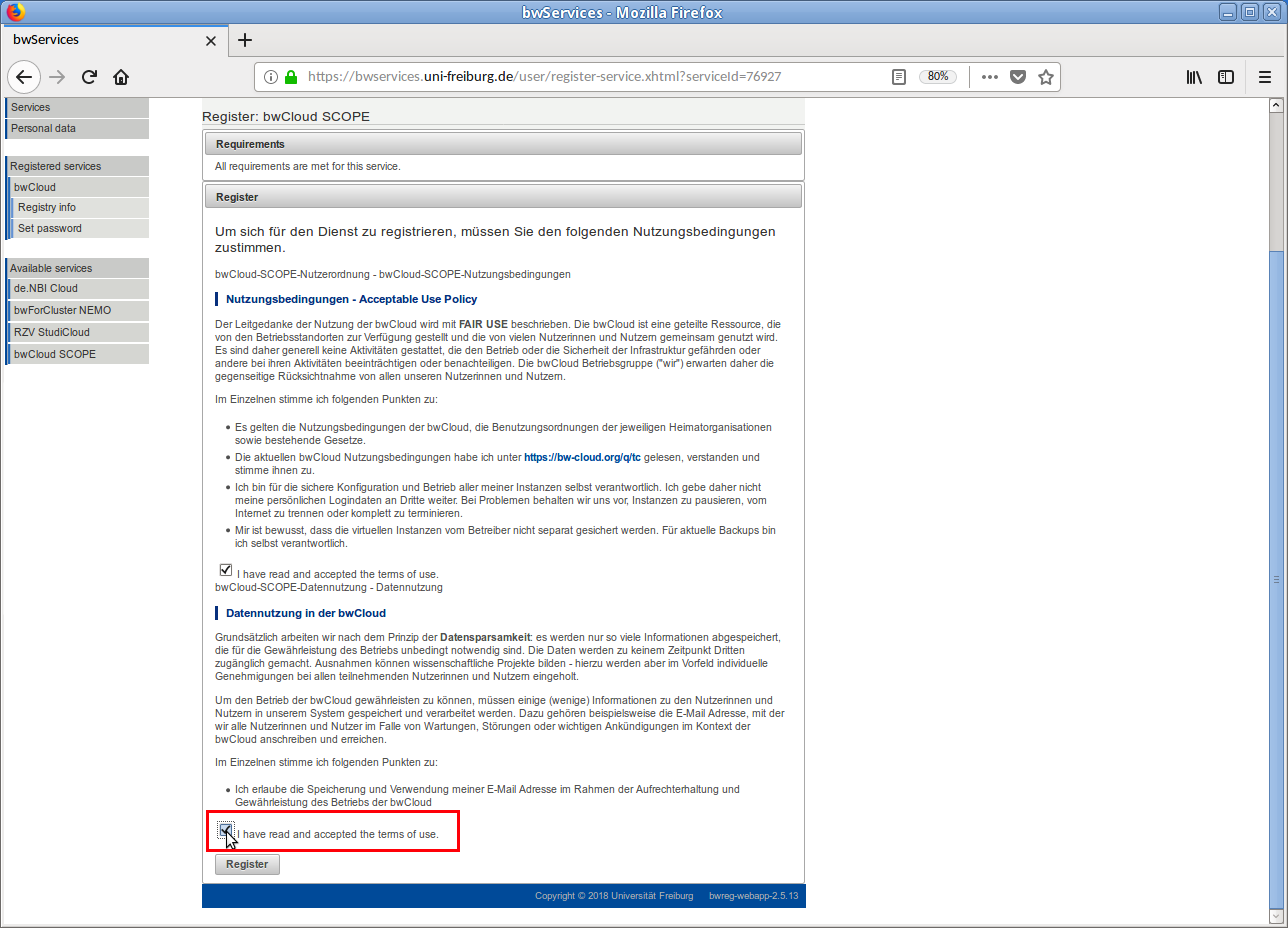
Step 1: Register for bwCloud SCOPE[step1]
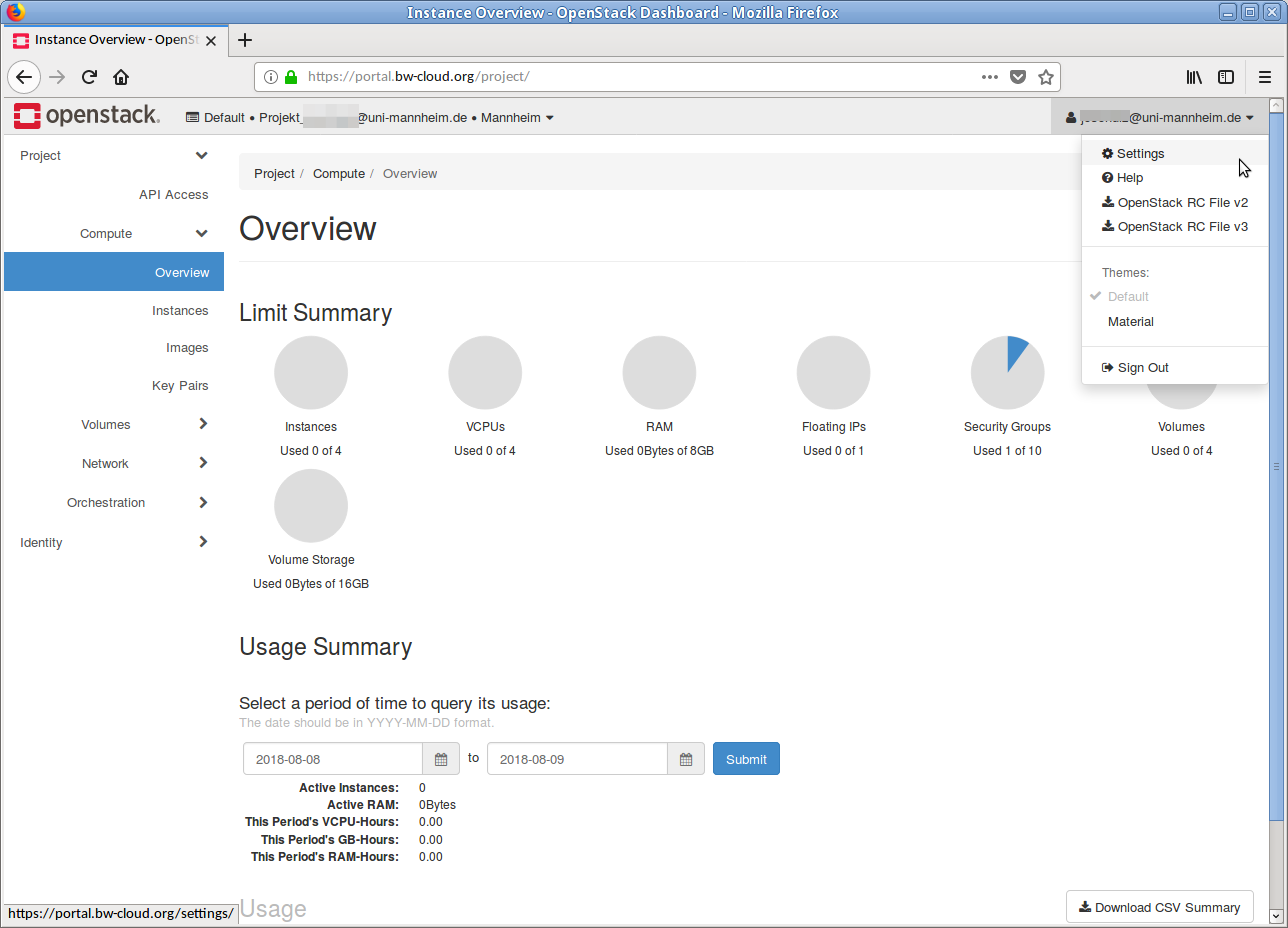
- Access our central bwCloud Dashboard at https://bw-cloud.org/q/d
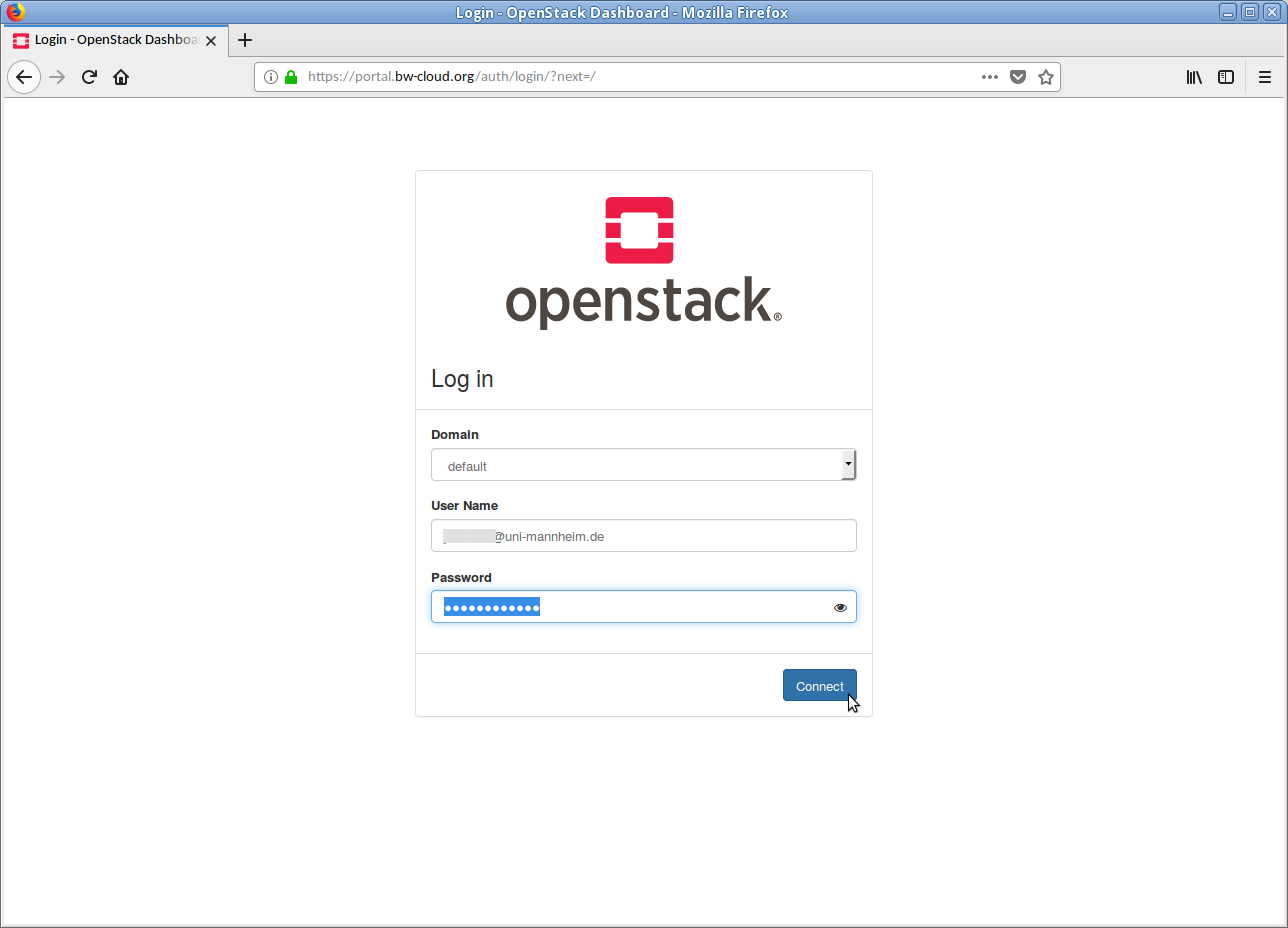
- Choose bwIDM via OpenID Connect as login and click on Login
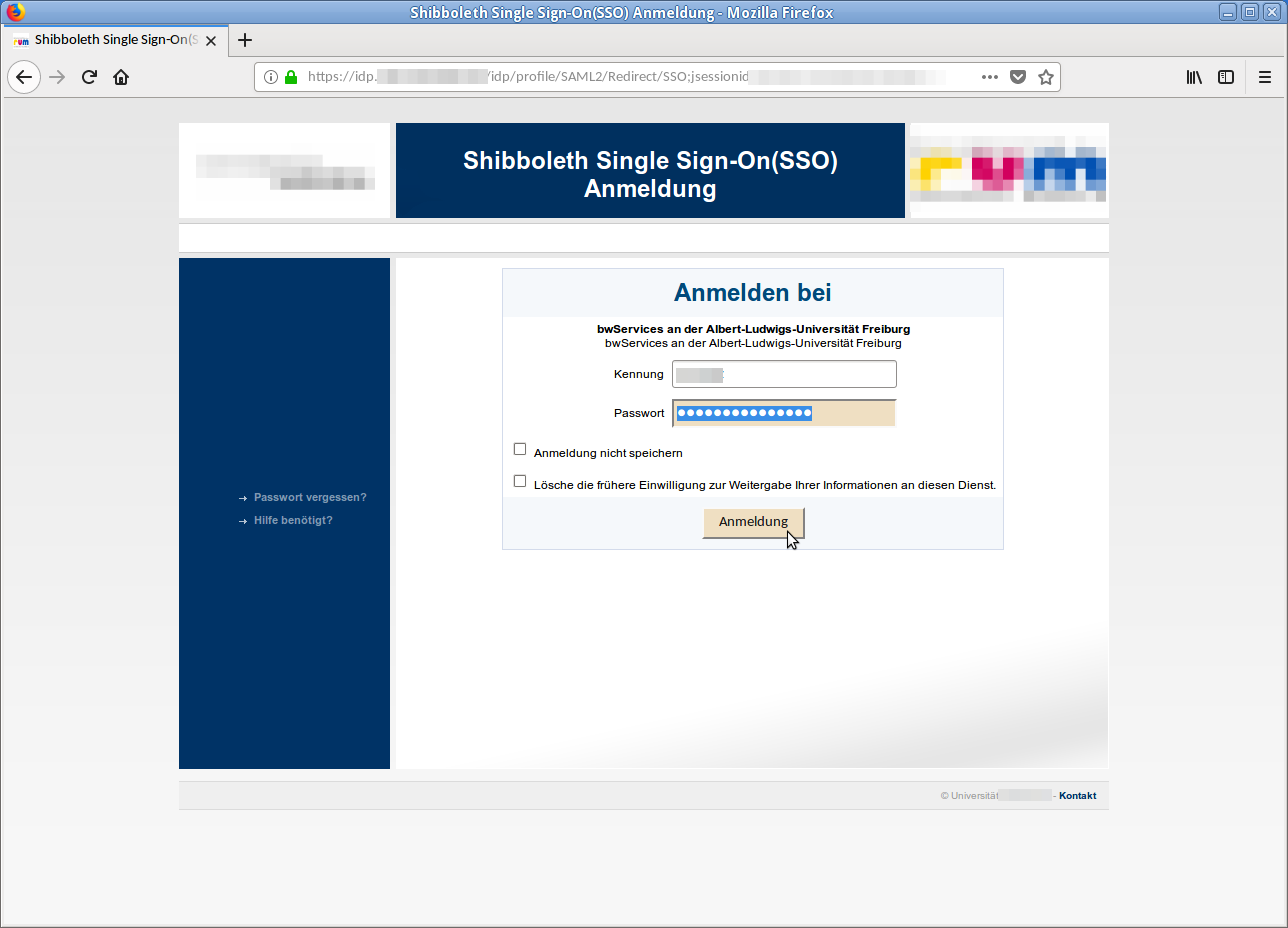
- Then select your home organization and authenticate with your ID or your university login
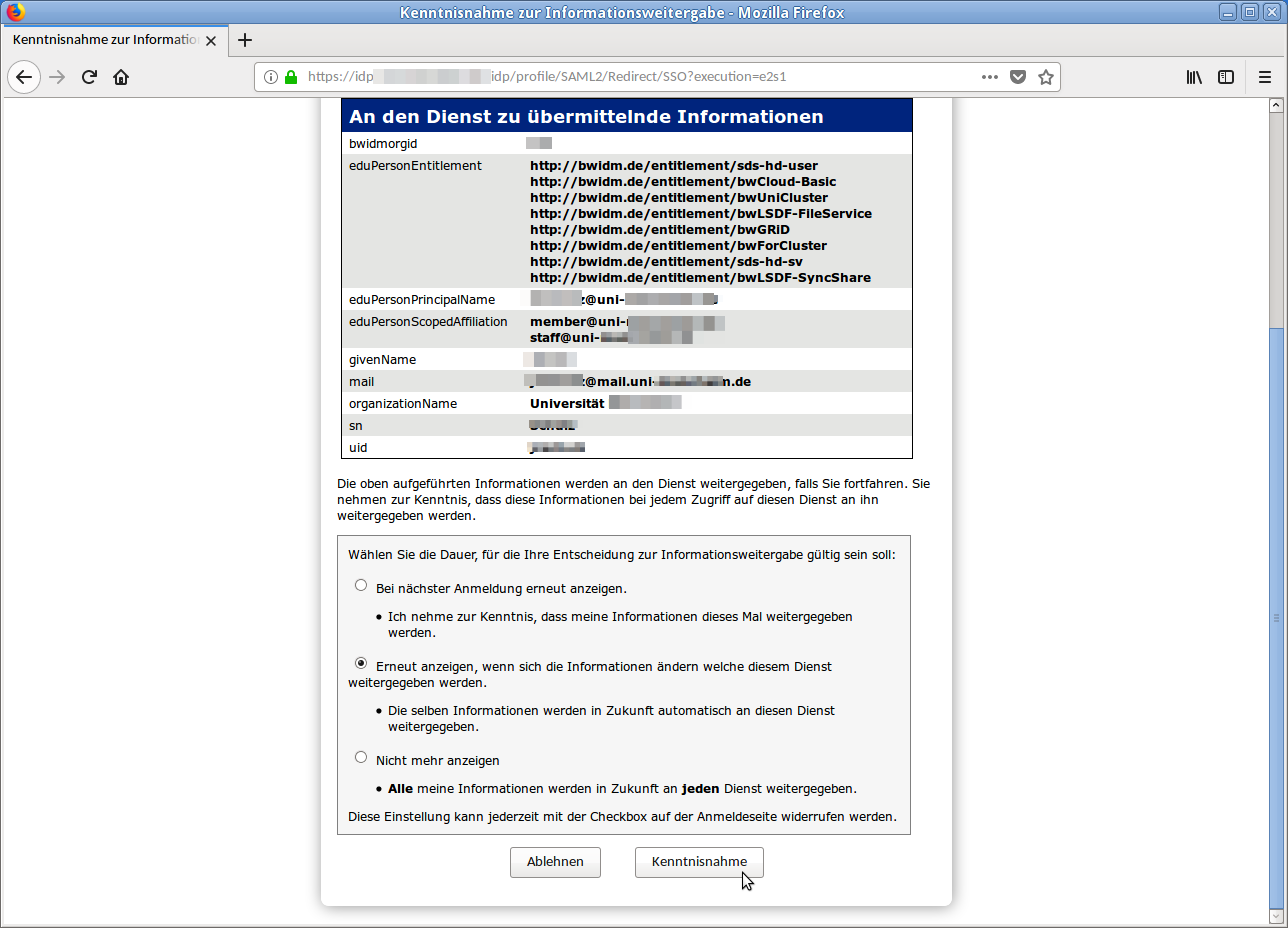
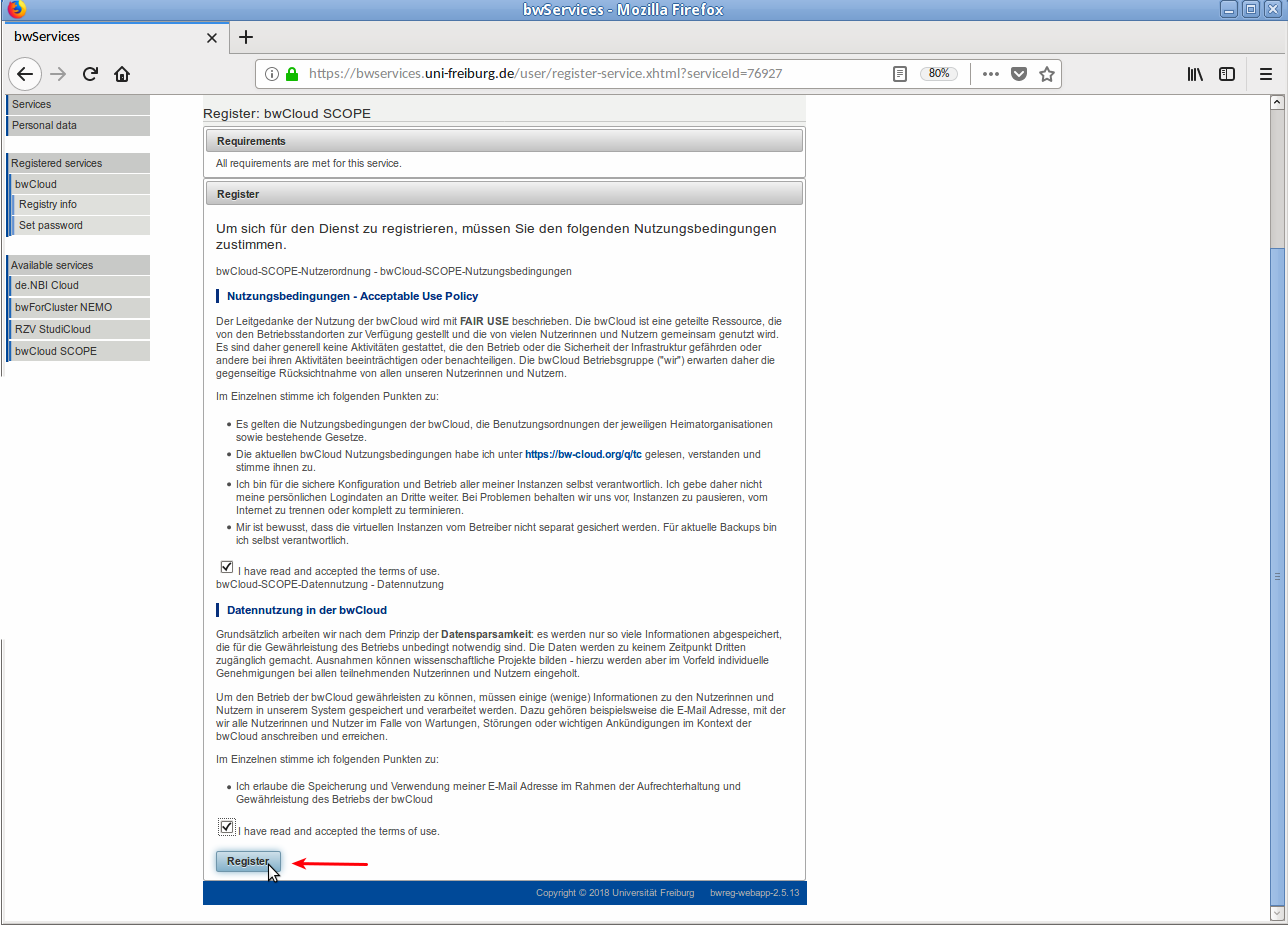
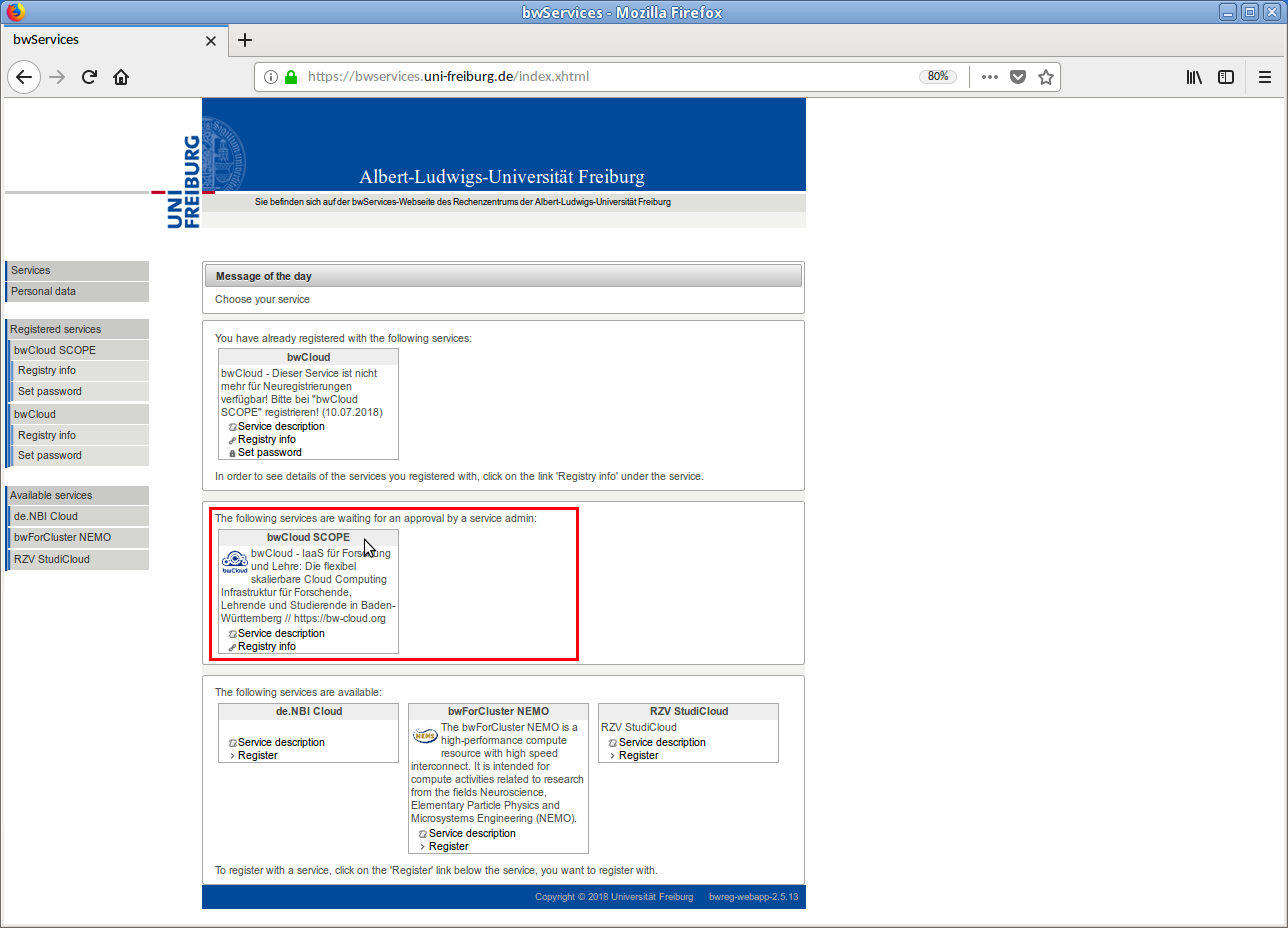
- Register for the bwCloud SCOPE service by agreeing to the displayed terms of use
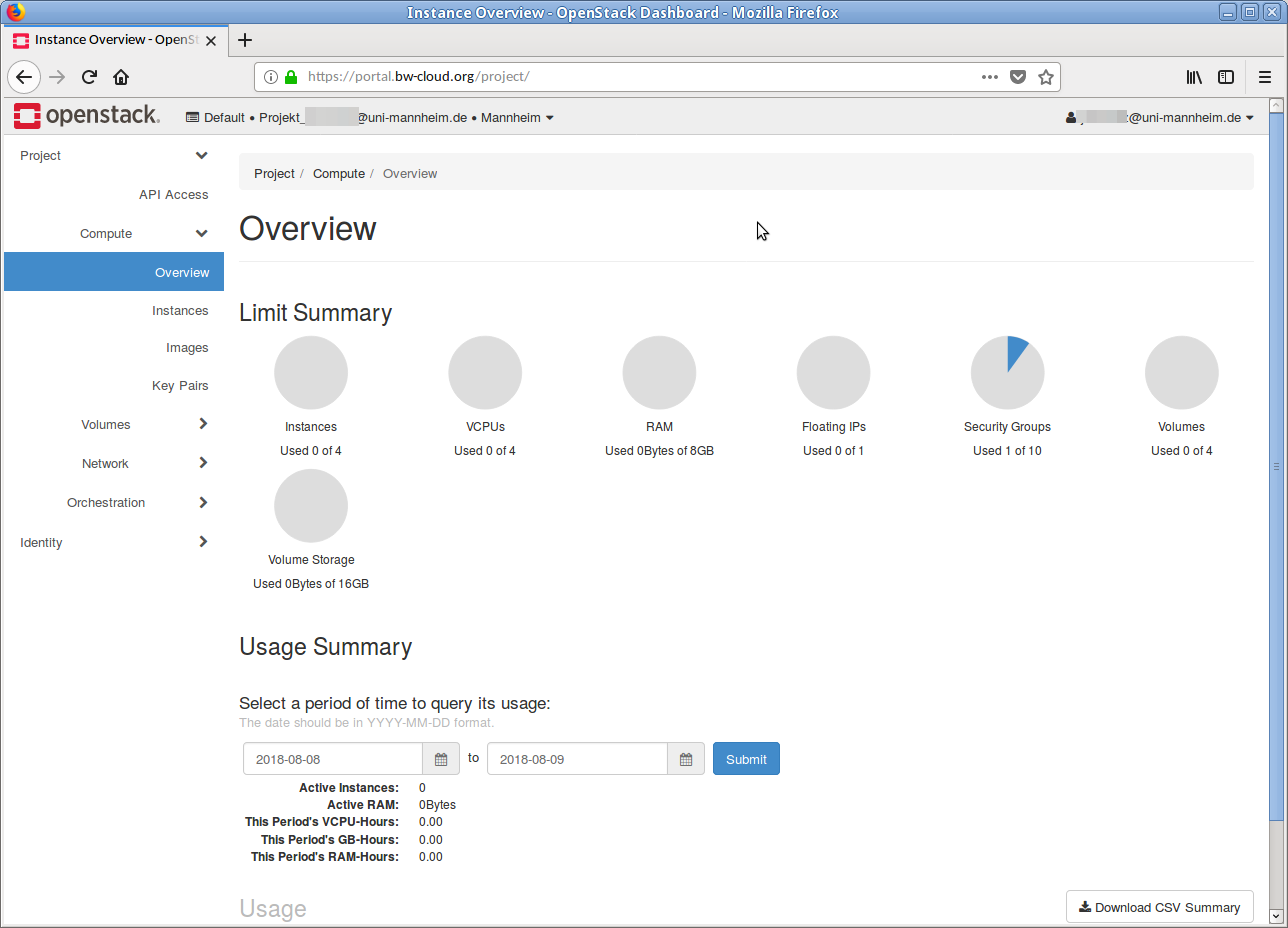
- You will be automatically redirected to the bwCloud Dashboard and can use bwCloud
Step 2: Log into the bwCloud[step2]
- Access our central bwCloud Dashboard at https://bw-cloud.org/q/d
- Choose bwIDM via OpenID Connect as login and click on Login
- Then select your home organization and authenticate with your ID or your university login
- You will be automatically redirected to the bwCloud Dashboard and can use bwCloud
Step 3: bwCloud SCOPE use[step3]
Now continue with the instructions for Using the bwCloud.